

Overview#
In this post, we will deploy Langfuse, an observability platform for LLM applications, to OpenShift using a Helm chart, and then connect it to Watsonx Orchestrate, IBM’s AI agent and tool builder platform.
Test Environment
Openshift 4.18
SoftwareHub 5.3.2
Langfuse 3.155.1
Deploying Langfuse#
1. Install helm#
refer: Kubernetes (Helm)
This document explains the process based on an offline installation.
Download the helm binary file from the official helm repo
2. Download the Langfuse repo#
Next, download the release file from the official langfuse-k8s repo
3. values.yaml#
Before running helm install, we need to fill in the required values.
We will copy charts/langfuse/values.yaml and use it under the name custom_values.yaml.
Be sure to mirror the images to your private registry in advance by referring to the values.yaml file.
Example for reference:
global
  imageRegistry: registry.test.net:5000
  security:
    allowInsecureImages: true
langfuse:
  image:
    tag: latest
    pullPolicy: IfNotPresent
  web:
    image:
      repository: registry.test.net:5000/langfuse/langfuse-web
      tag: 3.155.1
      pullPolicy: IfNotPresent
  worker:
    image:
      repository: registry.test.net:5000/langfuse/langfuse-worker
      tag: 3.155.1
      pullPolicy: IfNotPresent
postgresql:
  image:
    repository: langfuse/postgresql
    tag: 17.3.0
  primary:
    persistense:
      storageClass: ocs-storagecluster-ceph-rbd
redis:
  image:
    repository: langfuse/valkey
    tag: 8.0.2
  primary:
    persistense:
      storageClass: ocs-storagecluster-ceph-rbd
clickhouse:
  image:
    repository: langfuse/clickhouse
    tag: 25.2.1
  zookeeper:
    image:
      repository: langfuse/zookeeper
      tag: 3.9.3
  persistence:
    storageClass: ocs-storagecluster-ceph-rbd
s3:
  image:
    repository: langfuse/minio
    tag: 2024.12.18
  persistence:
    storageClass: ocs-storagecluster-ceph-rbd
4. install#
Now, let’s deploy Langfuse on the OpenShift cluster.
# oc new-project langfuse

# helm upgrade --install langfuse /path/to/langfuse-*.tgz \
--namespace langfuse \
-f custom_values.yaml \
--set langfuse.salt.value=$(openssl rand -hex 32) \
--set langfuse.nextauth.secret.value=$(openssl rand -hex 32) \
 --set postgresql.auth.password=passw0rd \
--set clickhouse.auth.password=passw0rd \
--set redis.auth.password=passw0rd \
--set s3.auth.rootPassword=passw0rd
5. Create an Account#
Once the pods are up and running properly, you should be able to access the web UI.
First, create an account through the sign-up page.
After creating your account, create a project and generate an API key.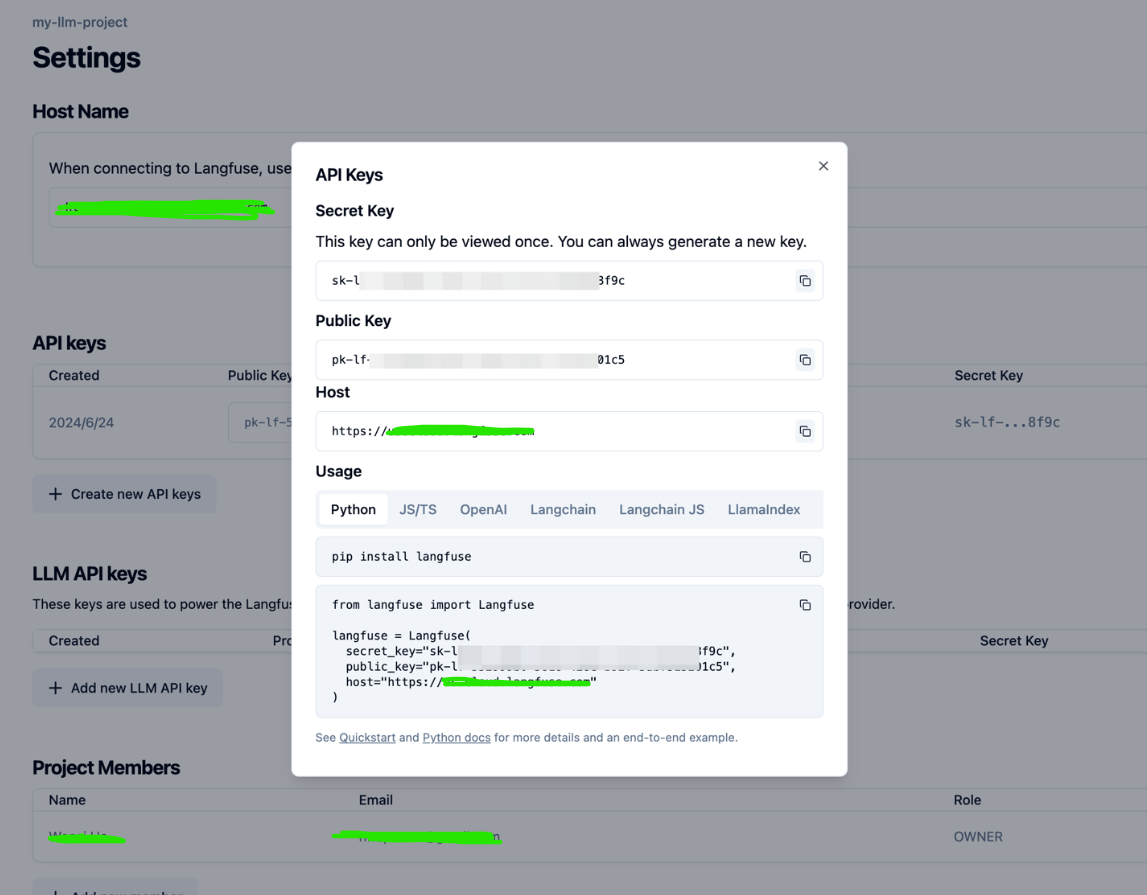
You can save the secret key and public key for later use.
Troubleshooting : Dirty Database#
If you see an error like the following in the langfuse-web pod:
No pending migrations to apply.
error: Dirty database version nn. Fix and force version.For example, if you encounter an error such as error: “Dirty database version 25. Fix and force version.”, it means that the migration at version 25 failed or was interrupted, leaving the database in a locked “dirty” state.
In this case, you need to roll back to the last successfully applied version, which is version 24.
The recommended approach is to restore it using the golang-migrate tool.
However, in my case, installing golang-migrate in an air-gapped environment was not straightforward, so I connected directly to the database and forcibly restored it to the previous state.
Connect to the clickhouse pod.
$ oc exec -it clickhouse-pod -- clickhouse-clientFind the latest record where dirty = 1:
$ SELECT * FROM schema_migrations ORDER BY version DESC;Delete it (run the command with caution).
$ DELETE FROM schema_migrations WHERE version=25;After deleting it, restart the langfuse-web pod, and it should return to normal.
Integrating with wxo#
Next, let’s integrate watsonx Orchestrate with Langfuse to set up an LLMOps workflow.
1. Install wxo ADK#
Official repo -> IBM/ibm-watsonx-orchestrate-adk
or
$ pip install --upgrade ibm-watsonx-orchestrate2. Connect to the wxo Instance#
Now, let’s connect the ADK to the Watsonx Orchestrate instance.
$ orchestrate env add -n <envName> -u <serviceInstance url> --insecure -t cpdenvName : any nameserviceInstance url : you can find it by clicking your account in the top-right corner of the Orchestrate screen, then going to Settings
$ orchestrate env activate <env name> --skip-version-check3. Connect to Langfuse#
$ vim langfuse.yaml

spec_version: v1
kind: langfuse
project_id: <langfuse project name>
api_key : <langfuse project apikey>
url: http://langfuse-web.langfuse.svc.cluster.local:3000/api/public/otel
host_health_uri: http://langfuse-web.langfuse.svc.cluster.local:3000
config_json:
  public_key: <langfuse project public key>
mask_pii: true
Connect:
$ orchestrate settings observability langfuse configure --config-file=langfuse.yamlAppendix.#
Delete langfuse connection :
$ orchestrate settings observability langfuse removeDelete wxo env :
$ orchestrate env remove -n <name>